Achieving that ultimate showroom shine for your car can seem daunting, but with the right tools and techniques, it can be a rewarding DIY project. In this blog, we’re breaking down the process into seven simple steps using top rated ceramic coating. Let’s dive into each step to make your car gleam like never before.
1. Preparing Your Vehicle for the Ultimate Shine
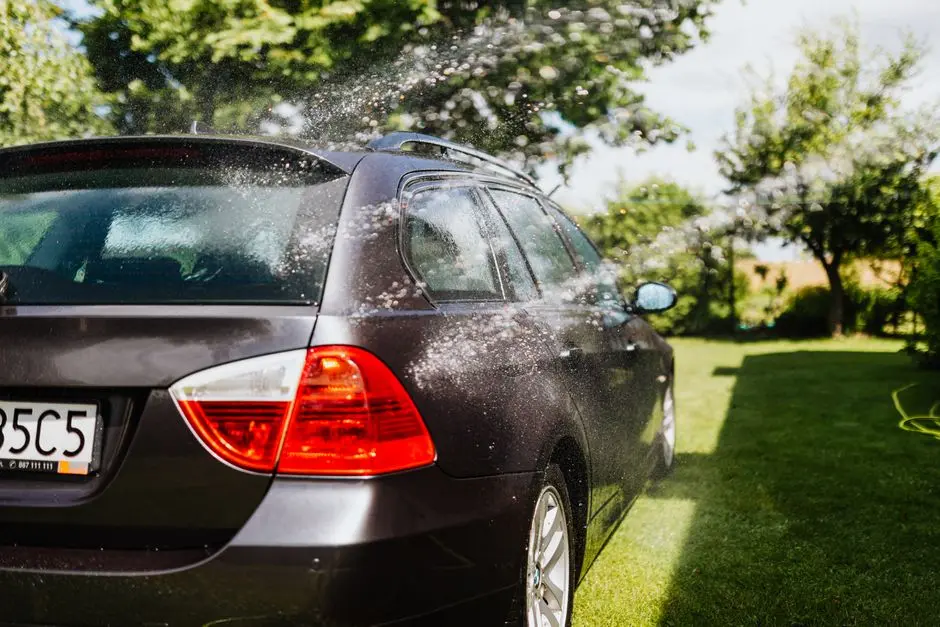
Start by giving your car a thorough wash to remove any dirt and grime that could hinder the coating process. Ensuring the surface is perfectly clean is essential for achieving that pristine shine. Consider using a high-quality car shampoo that is specially formulated to be gentle on your vehicle’s paint while effectively lifting away dirt. Pay special attention to areas like the wheel arches and underbody where dirt tends to accumulate. Remember, a clean canvas is crucial for the subsequent steps.
Once the initial wash is complete, inspect your car for any remaining contaminants that washing alone couldn’t remove, such as tree sap or road tar. Using a clay bar treatment can help eliminate these stubborn deposits, making sure your car’s surface is as smooth as glass.
2. Understanding the Benefits of Top Rated Ceramic Coating
A top rated ceramic coating acts like armor for your car, offering long-lasting protection against the elements. One of the standout benefits of ceramic coatings is their ability to repel water, which can greatly reduce the risk of water spots forming on your vehicle. This hydrophobic quality ensures that water and dirt slide right off, keeping your car clean for longer periods. Additionally, ceramic coatings provide a protective layer that safeguards your car’s paint from harmful UV rays, which can cause fading over time.
Beyond protection, ceramic coatings also enhance the aesthetic appeal of your car. The deep, glossy finish achieved with a high-quality coating transforms your vehicle’s appearance, elevating it to a level that even new cars can struggle to match. The enhanced shine and color depth create a striking visual impact, ensuring that your car turns heads wherever you go. For more maintenance tips, see our guide on automotive care.
3. Gathering the Necessary Tools and Materials
Before jumping into the application process, it’s crucial to gather all necessary tools to ensure a smooth and successful coating application. You’ll want a supply of high-quality microfiber cloths, which are essential for application and buffing. These soft, lint-free cloths help distribute the coating evenly across the surface, minimizing the risk of scratches or swirls. Additionally, invest in a set of applicator pads; these are crucial for achieving a uniform spread, especially in those hard-to-reach spots.
Perhaps the most critical component of your toolkit is the ceramic coating itself. Select a top rated ceramic coating that is well-reviewed and known for its long-term durability. Reading reviews and verifying customer testimonials can provide insight into the product’s performance. Ensure you also have protective gear like gloves and a mask, as some coatings can emit fumes during application.
4. Mastering the Application Technique
With your tools and products ready, it’s time to master the application technique. Start by sectioning off your vehicle to focus on manageable areas at a time, such as a single door or panel. This method ensures that you maintain control over the application process, avoiding skipping spots or over-application of the product. Ensure you shake the bottle well before applying the liquid to the applicator pad.
Application requires patience and precision. Use straight, overlapping strokes to spread the coating evenly. Avoid circular motions, which can cause uneven layers or swirls. Following your first application, allow the coating to settle for a moment. This resting period enables the active ingredients to work their magic, bonding effectively with the paint while forming a protective layer.
5. Allowing Proper Cure Time
After applying the ceramic coating, allow it to cure correctly by following the manufacturer’s recommended drying period. Typically, you’ll need to wait between 24 to 48 hours without exposing the vehicle to water. During this time, avoid driving the car if possible, as this could expose the uncured coating to dust and debris, compromising its effectiveness.
The curing process is where the magic truly happens; it is when the coating hardens and forms a robust shell over your vehicle’s surface. This shell is what protects your paint from abrasive elements and enhances your car’s shine. For the best results, some coating products suggest holding off washing your car for up to a week to ensure the coating has fully bonded. For more protective measures, visit our protection tips.
6. Troubleshooting Common Application Issues
Even with meticulous application, issues like streaking or haziness can occur and are commonly due to excess product or improper application techniques. To fix streaks, lightly buff the area with a clean microfiber cloth using gentle pressure until the streaks fade. If haziness persists, it might be necessary to reapply the coating in those sections following the recommended technique closely.
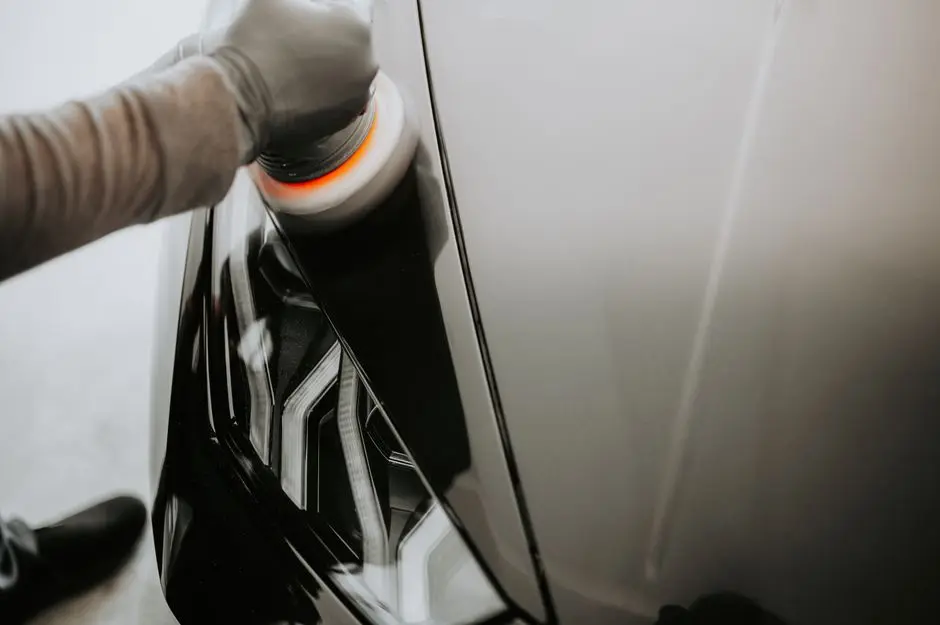
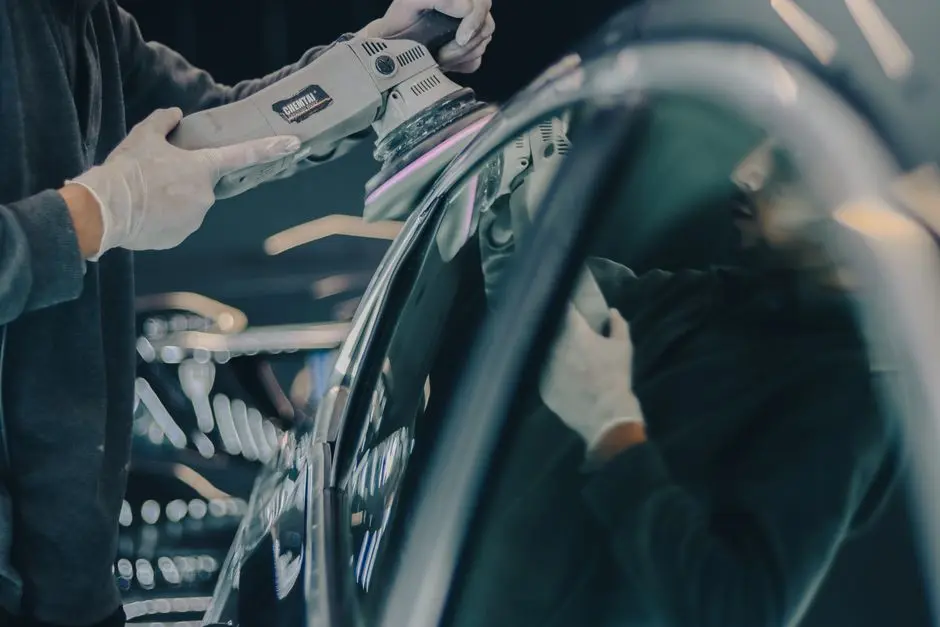
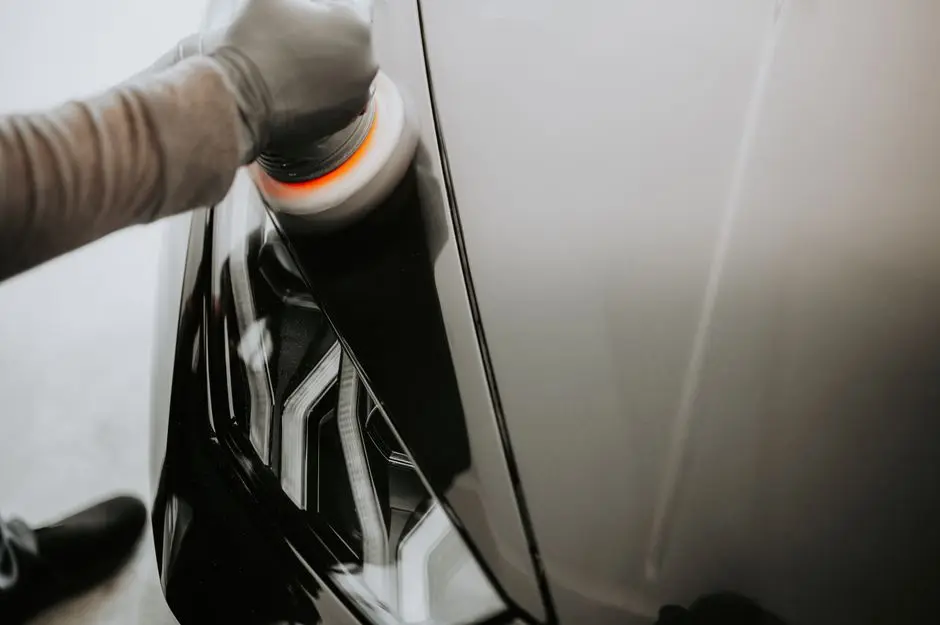
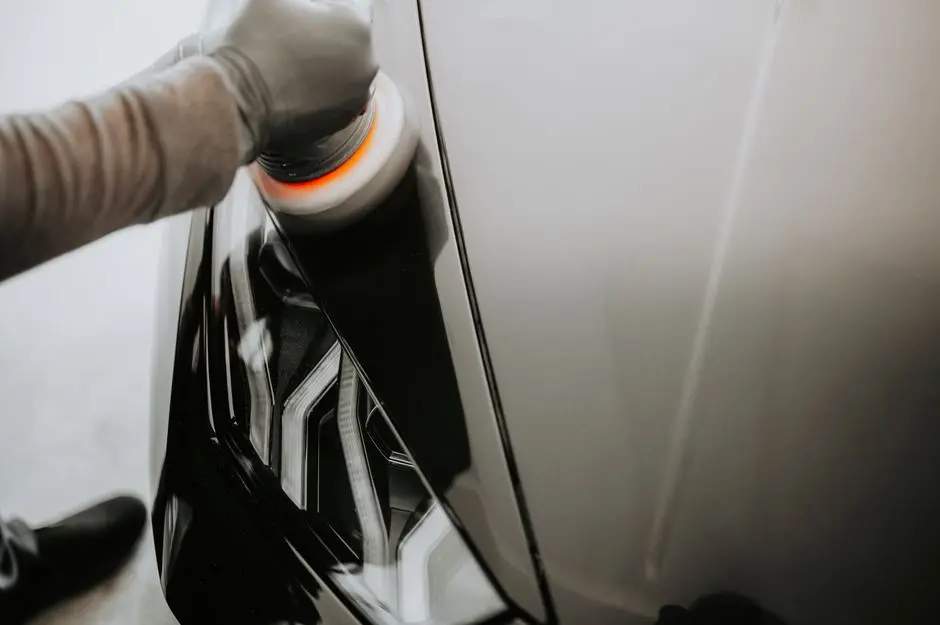
For areas where the coating has unintentionally cured with defects like high spots, a mild polish can help level the surface, followed by a reapplication of the coating. Always work in a well-lit area to catch application errors in time. If you feel overwhelmed, consider reviewing our troubleshooting guide.
7. Maintaining the Showroom Shine
Maintaining your vehicle’s showroom-shine after a ceramic coat requires dedication but can be simplified with the right routine. Regularly wash your vehicle using a pH-balanced shampoo designed for ceramic-coated surfaces, as this will prolong the coating’s life and maintain its hydrophobic properties. Pair this with the ‘two-bucket method’ during washes to keep contaminants at bay and avoid introducing new scratches.
Frequent checks for potential contaminants like tree sap or bird droppings can prevent long-term damage to the coating. Quick removal of such elements using a detailing spray preserves the integrity of your ceramic finish. Lastly, every six months, use a ceramic booster spray to rejuvenate and fortify the coating, extending its protective qualities. To schedule a professional touch-up, check our detail services.