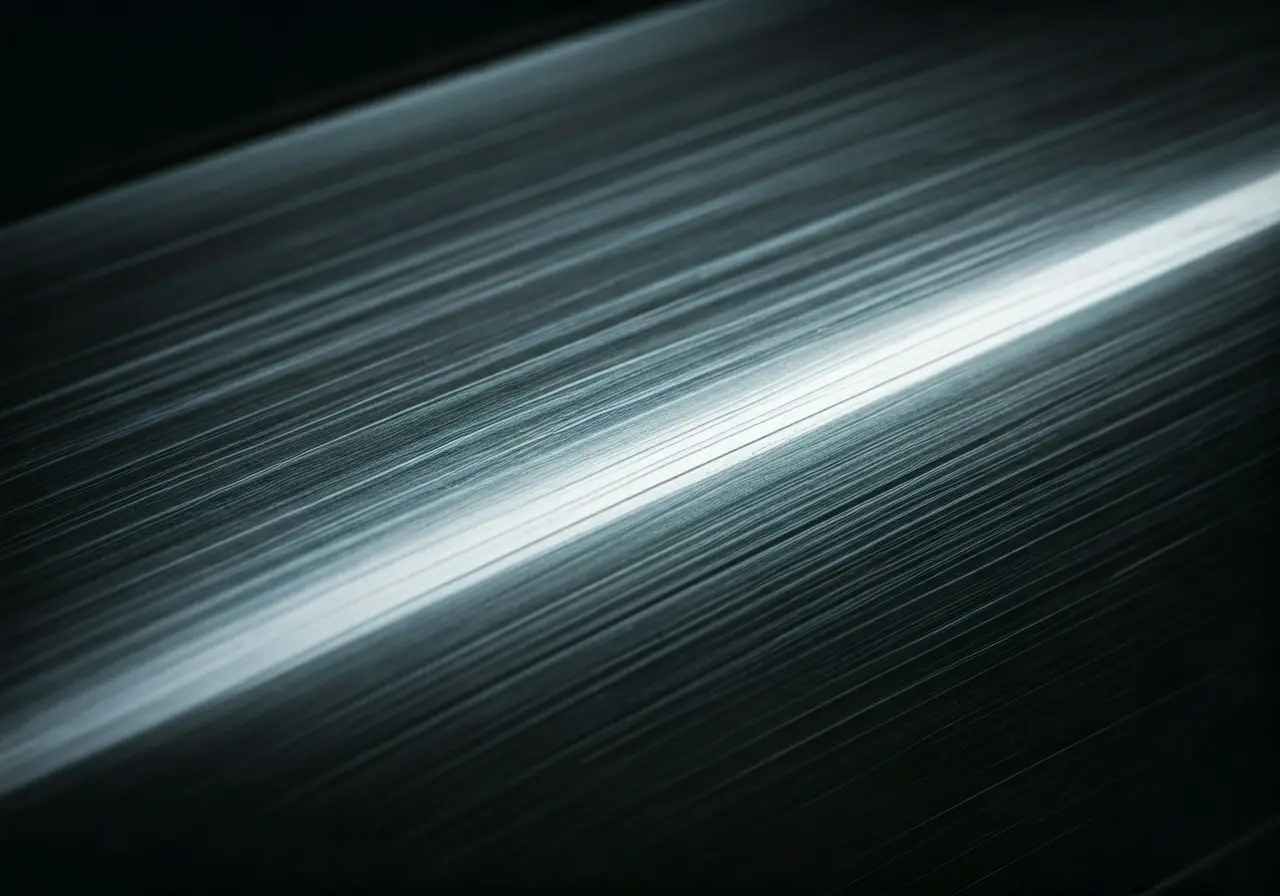

Introduction to Paint Correction
Paint correction is like giving your car a deep cleanse for its skin. It’s not as simple as a car wash; it’s about getting rid of those tiny imperfections that dull your car’s shine. This process involves removing scratches, swirls, and marks from your car’s paint. Think of it as erasing blemishes to bring back that showroom look. It’s not about covering up; it’s about fixing. Professionals use special tools and techniques to gently polish your car’s exterior, ensuring it looks its best. Paint correction can make a big difference, making your car look newer and more vibrant. It’s an investment in your vehicle’s appearance and, by extension, its value. Whether your car is a daily driver or a weekend cruiser, paint correction is a step towards maintaining its beauty and worth.
Understanding Paint Correction: What Is It?
Paint correction is a process to get your car’s paintwork looking as good as new, getting rid of surface imperfections like scratches, swirl marks, water spots, and other marks that dull your vehicle’s shine. Think of it as a high-level spa treatment, but for your car’s exterior. It involves polishing and sometimes wet sanding the paint to remove these imperfections. It’s not just a quick wipe-down; it’s skilled work that requires precision and the right tools. The goal is to make your car’s finish look flawless, enhancing its overall appearance and preserving its value. Whether done by a professional or as a DIY project, understanding the basics of paint correction is the first step to reviving your car’s pristine look.
The Benefits of Paint Correction for Your Vehicle
When you invest in paint correction for your vehicle, you’re not just spending money, you’re making an investment in its future. Here’s the deal: Paint correction can significantly boost your car’s appearance, making it look glossy and new. But that’s not all. This process also adds a layer of protection against elements like UV rays, which can fade and damage the paint over time. Think about it as giving your car a shield, along with a major beauty boost. Plus, if you’re considering selling your vehicle down the line, a flawless finish could increase its resale value. It’s simple, really. A car that looks well-maintained and vibrant is more appealing to buyers. So, investing in paint correction is a smart move for those looking to maintain their vehicle’s value and appeal.
Signs Your Car Needs Paint Correction
Notice swirl marks or light scratches on your car? Does it lack that showroom shine it once had? These are clear signs your car needs paint correction. Over time, your vehicle’s paint gets exposed to the elements—sun, rain, dirt, and even improper washing techniques—all contributing to its diminished appearance. If you spot uneven paint, a dull surface, or even tiny dings that catch the light just wrong, paint correction can help. This process meticulously removes a thin layer of your car’s paint to eliminate these imperfections, revealing a smoother, more vibrant finish beneath. Keep an eye out for fading paint too, as it indicates your car has been baking a bit too long under the sun and could greatly benefit from paint correction. Remember, maintaining your car’s paint isn’t just about aesthetics; it’s about protecting its value and longevity. So, if these signs are familiar, it might be time to give your car the attention it deserves.
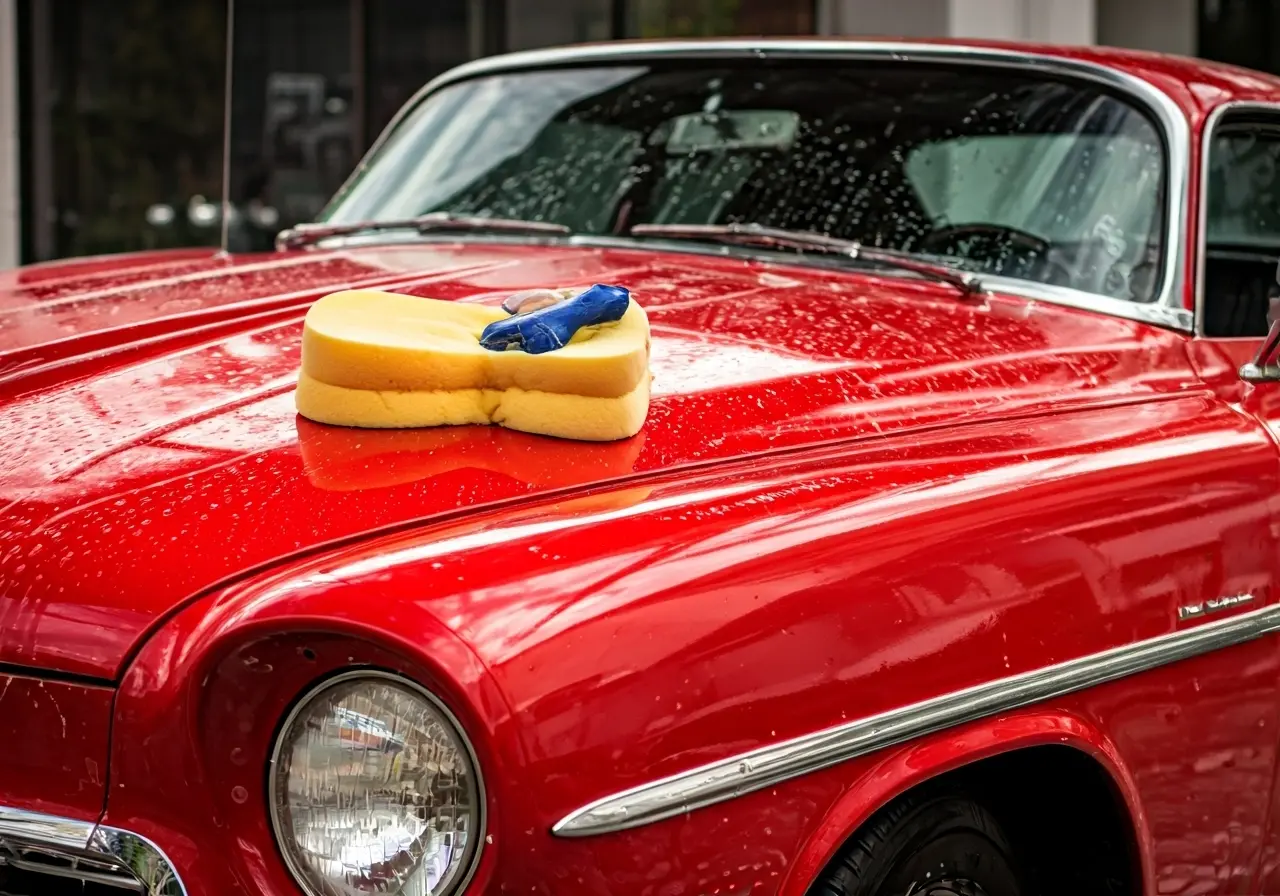
Preparing Your Vehicle for Paint Correction
Before diving into paint correction, it’s crucial to prep your vehicle properly. This not only ensures the best results but also protects your vehicle. First off, you’ll need a thorough wash. Not just a splash and dash, but a deep cleanse to remove all dirt, debris, and any substances that can interfere with the correction process. After cleaning, a clay bar comes into play. Running a clay bar over the paint will remove embedded particles, creating a smooth surface for the correction work. Next, inspect the paint. Look for any scratches, swirl marks, or imperfections. This step helps you understand what you’re working with and what areas need the most attention. Your vehicle might need a final wash to remove any residue left from claying and inspecting. Now, your vehicle’s ready for paint correction. Remember, these steps are crucial for achieving that flawless finish.
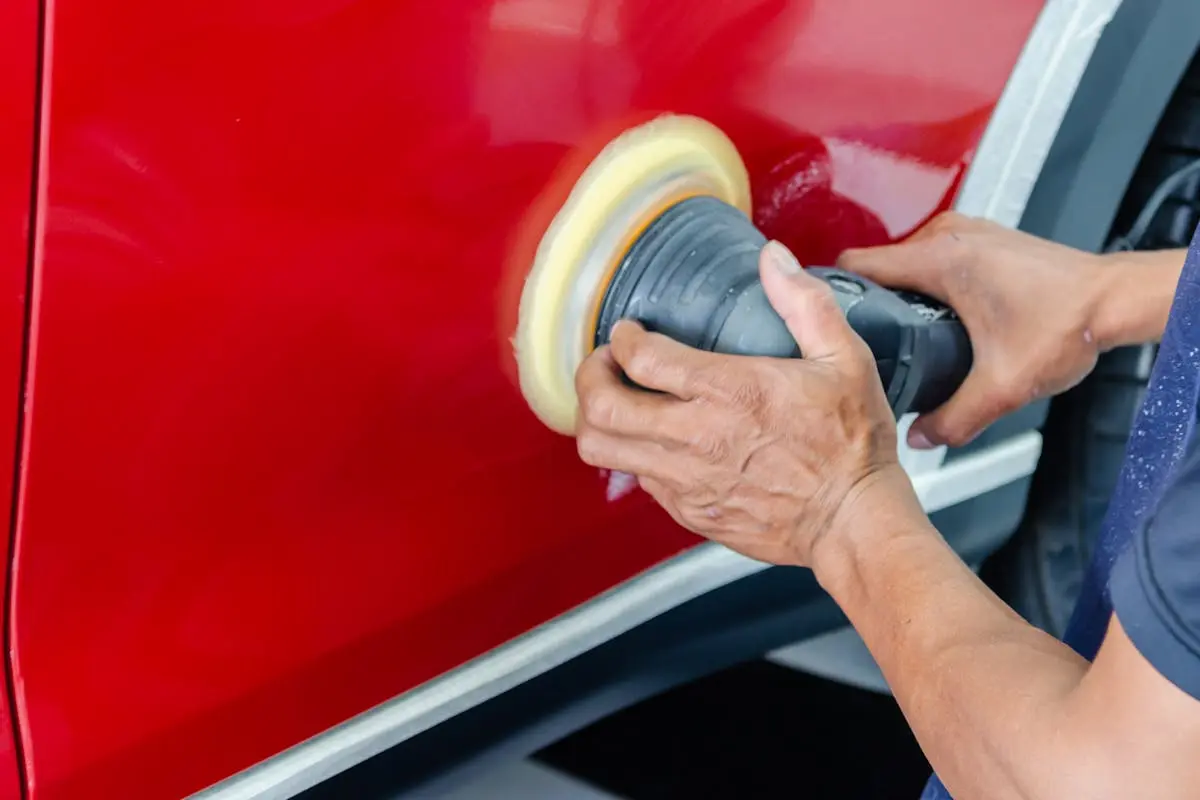
The Paint Correction Process: Step by Step
Paint correction is a detailed process that transforms and rejuvenates your car’s exterior by removing surface imperfections. It’s not a quick job. Step one kicks off with a deep clean. We’re talking washing and drying to ensure no dirt can mess with the correction. Next, we dive into clay barring. This step takes away any contaminants stuck on the paint, prepping it for the real deal. Now, the main event: polishing. Here, a machine polisher steps in, smoothing out those bothersome scratches and swirls. It’s all about patience and precision. Depending on the car’s state, we might go through multiple rounds of polishing to hit perfection. Finally, for those finishing touches, a sealant or wax is applied. This not only adds a spectacular shine but also protects the paint until the next showdown with nature. Remember, each step is vital. Skipping one is like baking bread without yeast – it just won’t rise to the occasion.
Tools and Techniques: How Professionals Achieve Perfection
To get that perfect, mirror-like shine on your car, professionals rely on a series of steps and specialized tools. First off, they assess your car’s paint condition. They check for scratches, swirl marks, and paint dullness. This step decides what techniques and tools they’ll need to use. One of the go-to tools in their arsenal is the dual-action polisher. This machine is a game-changer. It rotates and oscillates, ensuring an even and effective application without damaging the paint. The choice of pad and polish is also critical. There are different pads (like foam or microfiber) and various grades of polish, from heavy compound for deep scratches to finer polishes for finishing touches. It’s all about gradually refining the paint surface to a flawless finish. They might start with a heavy compound to tackle the big imperfections and move to finer polishes to smooth out the paint. The trick is patience and precision—doing it step by step, checking the results, and knowing when to switch techniques. It’s this blend of the right tools, techniques, and experience that brings out the best in your car’s paint.
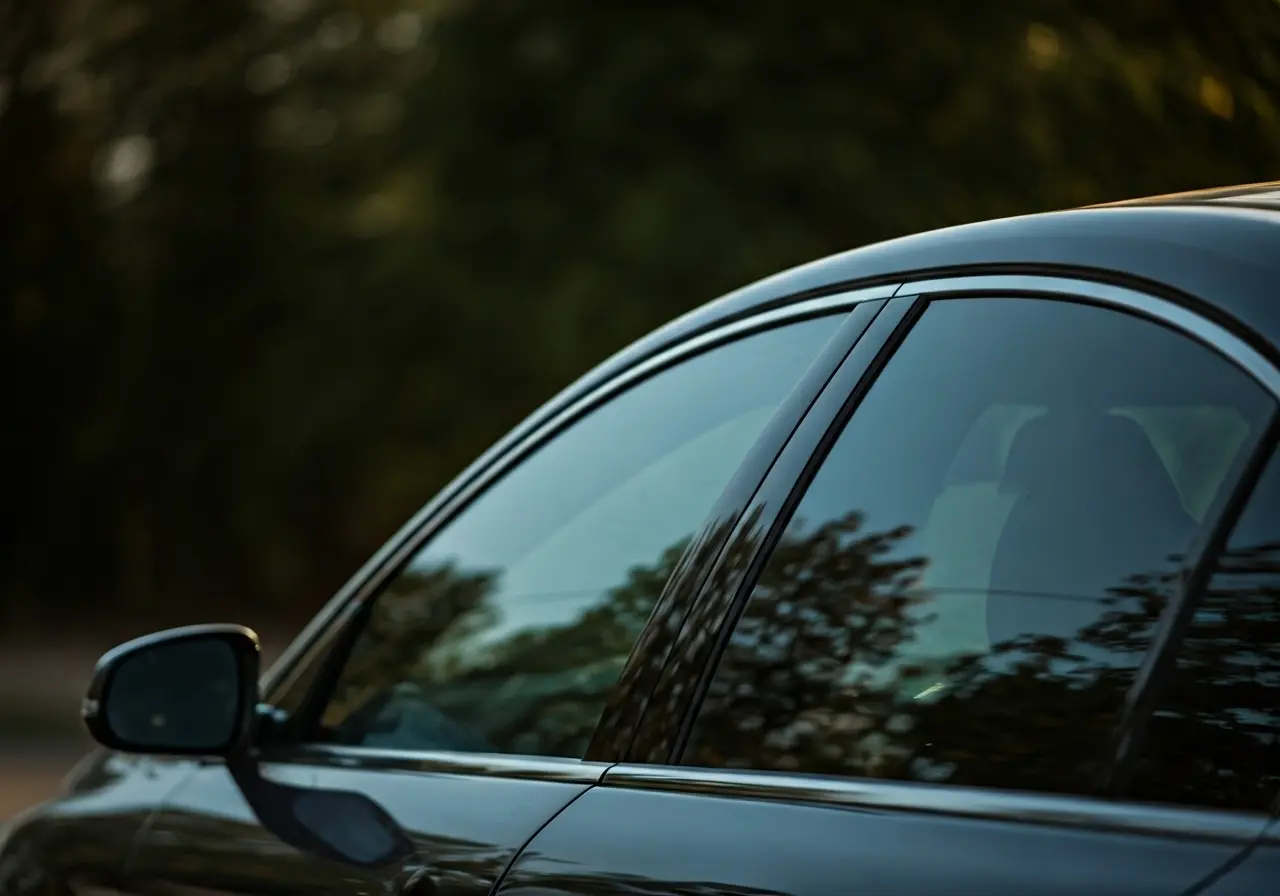
Aftercare: Maintaining Your Vehicle’s Finish Post-Paint Correction
After paint correction, your car looks almost new, but that look won’t last without proper care. Here are quick tips to maintain your vehicle’s shine. First, wash your car regularly, but wait a couple of days after the paint correction before the first wash. Use a mild, car-friendly soap and a soft mitt to avoid scratching the fresh surface. Dry it with a microfiber towel for the best results. Second, avoid automatic car washes. Their brushes can be harsh on your car’s newly corrected paint. Third, apply a wax or sealant routinely. This adds an extra layer of protection against dirt, UV rays, and minor scratches. Aim for every three to six months, depending on your car’s exposure to the elements. Lastly, keep your car covered or parked in a garage when possible. Sun and environmental pollutants can quickly dull your car’s shine. Remember, the effort you put into maintaining your vehicle’s finish after paint correction directly impacts how long it will look its best.
DIY vs. Professional Paint Correction: What’s Best for You?
Choosing between DIY or professional paint correction for your vehicle? Let’s break it down. DIY paint correction might seem cheaper at first. You’ll spend on average (100 to )300 for quality materials. This includes polishes, pads, and a decent polisher. It gives you the flexibility to work on your car at your own pace and satisfaction of personal achievement. But, it’s a skill that requires practice. Mistakes can lead to more harm than good, costing you more in the long run.
On the flip side, professional paint correction averages between (500 to )2500, depending on your vehicle’s condition and the level of correction needed. Yes, it’s pricier. But, you’re paying for expertise, high-grade equipment, and the peace of mind that mistakes are unlikely. Professionals can also offer warranties on their work.
So, what’s best for you? If you’re keen on learning and have time to practice, DIY might be your path. But if you want guaranteed results and can afford it, go professional. Remember, the goal is to make your vehicle look its best. Choose wisely.
Conclusion: Enhancing Your Vehicle’s Beauty and Value with Paint Correction
To wrap it up, paint correction is more than just a cosmetic touch-up; it’s an investment in your vehicle’s beauty and value. By removing imperfections and restoring your car’s shine, paint correction can significantly enhance its overall look and increase its resale value. Remember, the key to successful paint correction lies in choosing the right professionals, using quality products, and maintaining the finish with regular care. So, if you’re looking to give your ride that showroom-new look, consider paint correction. It’s a step towards preserving not just the aesthetics but also the long-term value of your vehicle. Whether you’re a car enthusiast or someone who cares about maintaining their vehicle’s appearance, paint correction is a worthwhile investment that pays off.