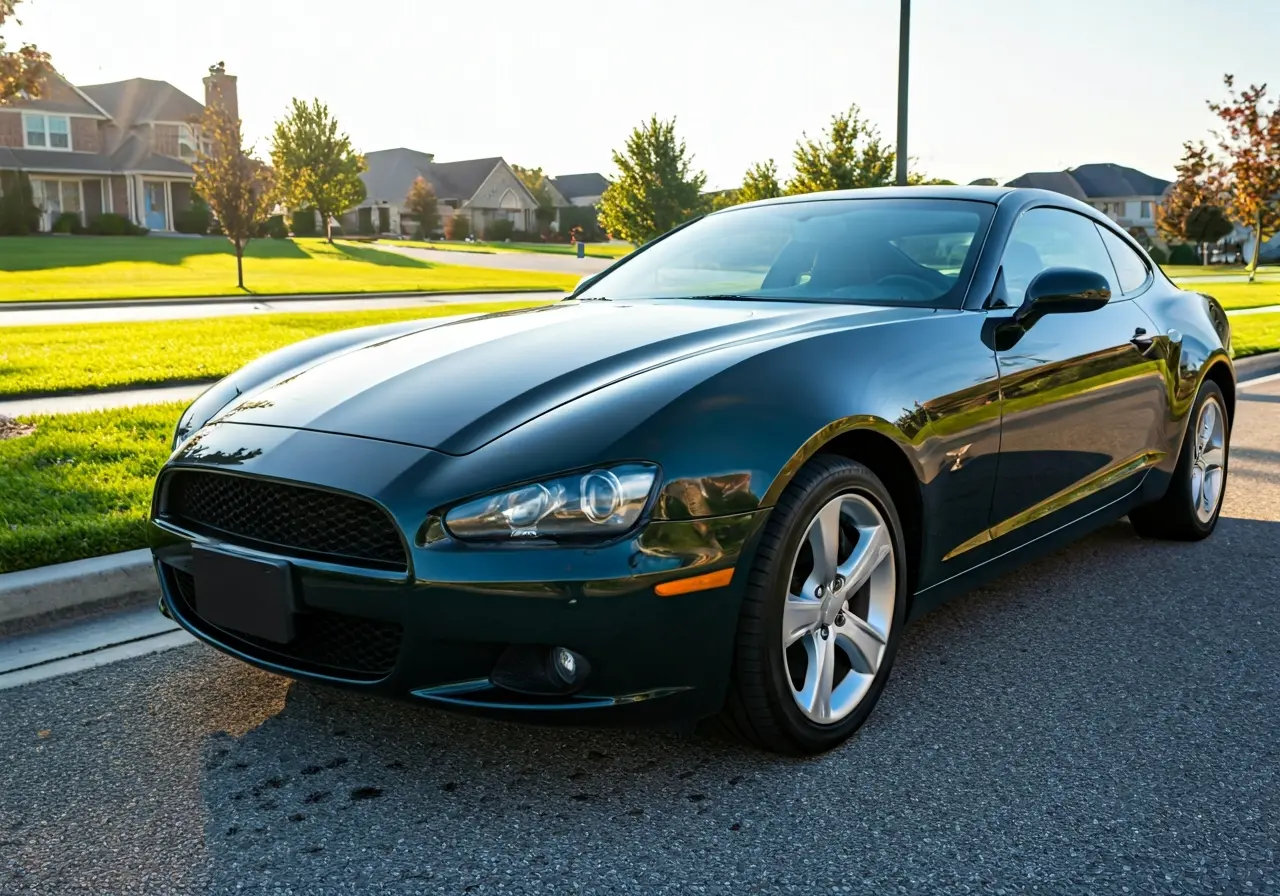

Ceramic coating is a fantastic way to protect your vehicle’s paint and keep it looking shiny and new. However, achieving that perfect finish can seem daunting. Fear not! In this guide, we’ve broken down the process into simple, manageable steps, allowing you to ceramic coat like a pro from the comfort of your own garage.
1. Understanding Ceramic Coating Basics
Before diving into the application process, it’s essential to understand what ceramic coating is and how it benefits your vehicle. It provides a protective, hydrophobic layer, making cleaning easier and keeping your car’s paint pristine. Not only does it enhance your car’s appearance, but it also reduces the risk of chemical stains, minor scratches, and UV damage. By forming a tough nanocoating, ceramic treatments stand out as a long-term solution for vehicle preservation, sparing you from frequent waxing. The choice of coating—whether professional-grade or DIY—will depend on your specific needs and skills.
Interestingly, the science behind ceramic coatings involves using tiny particles that bond with a vehicle’s paintwork to create a shield. Hydrophobic properties mean the coating causes water to bead on the surface, taking dirt and debris along with it. In essence, this leads to fewer washing sessions while ensuring your car shines brightly.
2. Gathering the Right Tools and Materials
Preparation is key. To achieve a professional finish, you’ll need specific tools and materials, including a quality ceramic coating product, applicator pads, microfiber towels, and more. Investing in high-grade materials ensures a smoother application and long-lasting results. Avoid cutting corners—opting for quality products from reputable manufacturers often makes all the difference. Typically, a complete ceramic coating kit will also include a prep cleanser to ensure that your car’s paint is free from any impurities before application.
It’s also important to note that not every car is the same, and neither are all ceramic coatings. Some kits are designed particularly for older vehicles where oxidation may be prevalent, while others are tailored for newer cars. Depending on your vehicle’s specific needs, research different ceramic coating brands and choose the one that resonates with your car’s requirements.
3. Choosing the Perfect Environment
Select a clean, dry, and shaded area to work in. Avoid direct sunlight and windy conditions to ensure the best results. A controlled environment will help avoid contamination. If you have the luxury of a garage, ensure it’s well-ventilated, as ceramic coatings can give off fumes that may be unpleasant. If working outside, wait for a day with moderate temperatures and no wind to apply the coating.
Additionally, it might be helpful to look at the local humidity forecasts. High humidity levels can affect the curing time of your ceramic coating, leading to subpar results if not monitored. Understanding environmental impacts can significantly influence your final product, so always plan accordingly.
4. Thoroughly Washing Your Car
A meticulous wash is crucial. Remove all dirt and grime with a quality car shampoo. Rinse thoroughly to ensure no residue is left behind. Consider using a two-bucket wash method to prevent reintroducing contaminants. One bucket should have soapy water for washing, while the other has clean water to rinse your mitt. This minimizes the risk of scratching during the cleaning process. Ensure you’re using a pH-balanced car shampoo which is gentle on your car’s existing coatings or waxes.
Once washed, don’t forget the drying process. Use a microfiber drying towel to pat the surface dry. Avoid air-drying methods as they can leave behind water spots, which might interfere with the ceramic coating’s bonding. Rest assured, good preparation at this stage sets the groundwork for the rest of the application process.
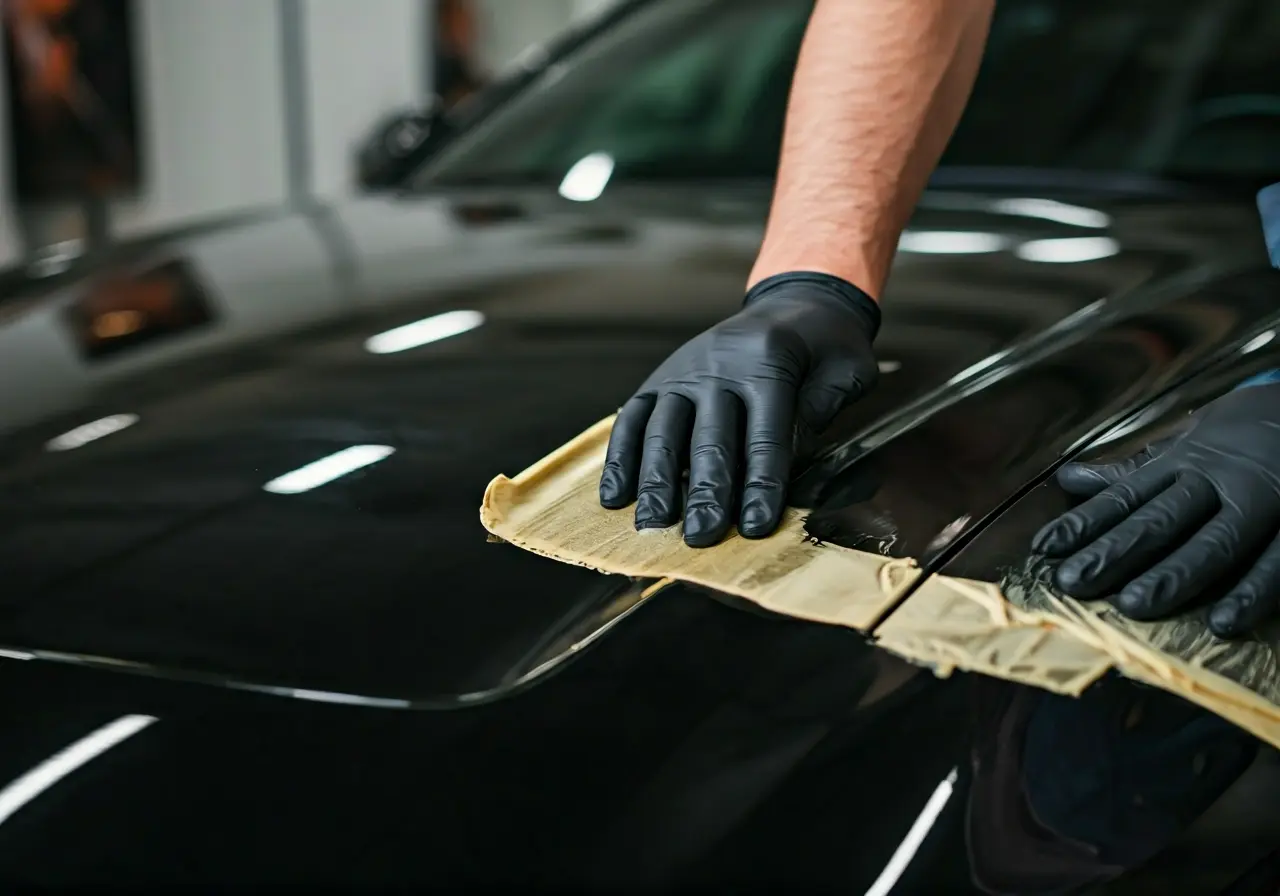
5. Claying the Surface for Perfection
Using a clay bar will remove embedded contaminants and provide a smooth surface, ideal for the ceramic coating application. This step cannot be skipped for a seamless finish. A clay bar is excellent for picking up things you might not even feel with your fingertips, such as industrial fallout, brake dust, and tree sap. To ensure even smoother results, pair your clay bar with a clay lubricant, spritzing the surface lightly as you work.
The process is simple yet transformative. Glide the clay along the paint using light pressure. You’ll notice the clay picking up unseen particles, slowly wearing down to leave a silky-smooth surface behind. Once done, wipe off any remaining residue with a clean microfiber towel. Regular claying not only primes surfaces for protective coatings but is an essential part of regular vehicle maintenance.
6. Polishing to Enhance Shine
Polish the surface to remove minor scratches and swirl marks. A polished surface ensures that the ceramic coating adheres effectively, enhancing the shine. This step requires patience and precision. Depending on the condition of your vehicle’s paint, you might choose between a hand polish for gentler applications or a machine polisher for deeper imperfections. Either option, when done correctly, reveals the true potential of your car’s paint, offering a perfect canvas for ceramic coating to bond.
Consider using a dual-action polisher for the job. Known for its versatility, it allows even beginners to achieve professional-grade results without the risk of burning through the paint. Before diving into machine polishing, familiarize yourself with polishing techniques to master the art of achieving that swirl-free, polished finish. Once finished, it’s crucial to wipe down the area with a microfiber cloth to ensure every residue is removed before moving on.
7. Degreasing the Surface for Better Adherence
Use an isopropyl alcohol solution to remove any remaining oils or residues from polishing. This step ensures that the coating bonds correctly to the paint. Thoroughly applying the alcohol solution guarantees a clean slate, preparing your surface for optimal performance of the ceramic coat. This is crucial as any leftover oils or polishing residues can create barriers and prevent full ceramic adhesion.
Spray the solution onto the surface and use a microfiber towel to wipe it down, revealing a squeaky-clean base ready for coating application. Don’t skip this step, as its importance cannot be overstressed. Ensuring every inch is cleaned harnesses the full potential of ceramic coating, leading to a flawless and durable result.
8. Applying the Ceramic Coating Layer
Carefully apply the ceramic coating using an applicator pad. Work in small sections to ensure even coverage and avoid streaks. Follow the product instructions for the best results. Every applicator pad is designed to help you smoothly glide over the paintwork, depositing an even layer of ceramic coating. Be mindful of the product’s specific drying times between layering—this can vary from city to city due to environmental factors. By breaking down this task into sections, minimization of errors is assured, leading to uniform results.
The application doesn’t have to be a torturous task. By staying diligent and taking your time, the rewards are immeasurable. Remember, it’s not about rushing through but about methodically covering each portion of the vehicle. Reviewing application videos can provide added insights and tips on achieving stellar results.
Revisit all corners, nooks, and crannies of your vehicle. Detailing these harder-to-reach spots assures comprehensive protection. With products developed to restore gloss while protecting against the elements, your vehicle will look breathtaking while carrying the shield it deserves.
9. Allowing Proper Curing Time
Curing time is critical to achieving a durable finish. Allow the coating to cure as per the manufacturer’s guidelines, which typically ranges from several hours to a full day. Keep your vehicle in its initial drying environment to avoid any new contaminants. It’s essential that you respect these timelines, as skimping on curing time can prematurely impact your ceramic coating’s effectiveness.
During this period, you want to minimize contact with direct sunlight and dust, offering sanctuary while the coating hardens. Vehicles stored in garages during this phase see marked improvements in their results. Patience is indeed a virtue in curing as rush decisions can manifest in suboptimal outcomes over time.
10. Buffing for a Flawless Finish
After curing, gently buff the surface with a clean microfiber towel. This step ensures a smooth, glossy finish without any residue. Buffing confirms a seamless integration of the ceramic coat with the car’s paint, providing that envious showroom shine. Ensure your towel is clean and free of debris, which could scratch the surface. With simple circular motions, bring out the full luster and admire the difference.
It might seem trivial to the untrained eye, but effective buffing emphasizes the effort put forth during application. The results? A mesmerizing reflection and mirror-like surface that stands out in any setting. By discovering the importance of buffing, you’re assured the grand finish that marks the achievement of your hard work.
11. Regular Maintenance for Longevity
Maintain your ceramic coating by washing your vehicle regularly and using recommended maintenance products. This helps preserve the coating and ensures longevity. When choosing products, lean towards biodegradable, eco-friendly options that uphold your coating without degrading it.
Regular detailing check-ups fortify your coating’s defenses against various environmental contaminants, keeping its crisp finish intact. Proactively addressing scratches, marks, or dings will further enhance the coating’s longevity, providing value well beyond the original application.
12. Troubleshooting Common Issues
Learn how to tackle common ceramic coating issues like high spots or hazing. Proper troubleshooting techniques will ensure you get the most out of your coating application. With keen observation, high spots—those uneven patches—become apparent, and quick steps like re-application or buffing can solve these easily.
Hazing, often seen as cloudy areas, may arise from improper initial coat leveling. Fortunately, recognizing these common mistakes prepares you not only to address them but also to avoid them entirely in future applications, ensuring a flawless, professional finish.
Ultimately, don’t let minor setbacks dissuade you. With the right approach, every challenge transforms into a learning curve, enhancing your journey toward becoming a ceramic coating aficionado. Have patience, utilize all resources, and your endeavors will lead you to pristine vehicle finishes unparalleled in quality.